I originally saw this DIY Card Catalog Ikea Dresser Hack idea on Love and Renovations and after making 2 of these dressers myself and doing things a bit differently, I thought I would share a few tips and how I used this dresser in our home. You can find the full tutorial over on Amanda’s blog, Love and Renovations, however, I’m sharing what I did differently below.
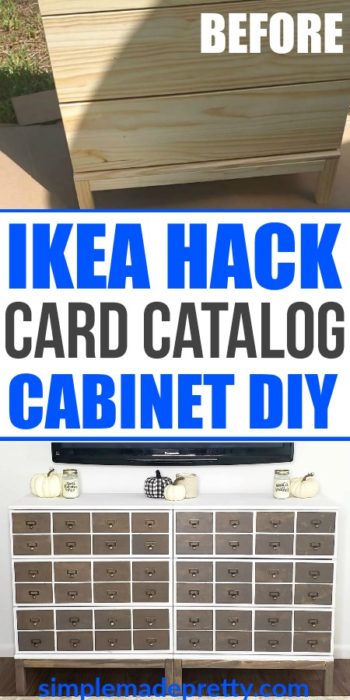
If you love Ikea hacks and those old-school Library Card Catalog Cabinets, you are going to love this Ikea dresser hack using the Tarva dresser and wood stain.
How to make the DIY Card Catalog Ikea Dresser Hack:
Supplies:
- Ikea Tarva 3-Drawer Dresser OR Ikea Tarva 6-Drawer Dresser
- White Linen Chalked Paint
- Paint Rollers, Brushes, sponges
- Rags
- Gloves
- Gorilla Glue
- Small screwdriver
- (go to Amanda’s tutorial to find the rest of the supplies needed)
Directions:
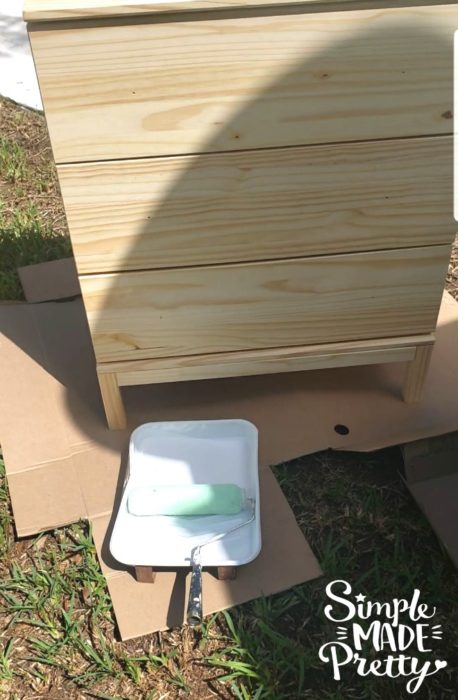
- I did things a bit differently than Amanda over on Love and Renovations and I want to make sure you know that it’s okay to cut corners too, lol. Instead of painting all of the Ikea Tarva dresser pieces first, I just built the thing. I’ve probably built 20+ Ikea furniture pieces in my lifetime so this went pretty smoothly. Just follow their instructions. If you found an Ikea Tarva dresser on Craigslist or Ikea’s As-Is section already built, you can skip this step 🙂
- After building the dresser I took it outside on a nice hot day to paint the entire outside (minus the legs) using White Linen Chalked Paint. I used a paint roller and brush to make things move quickly.

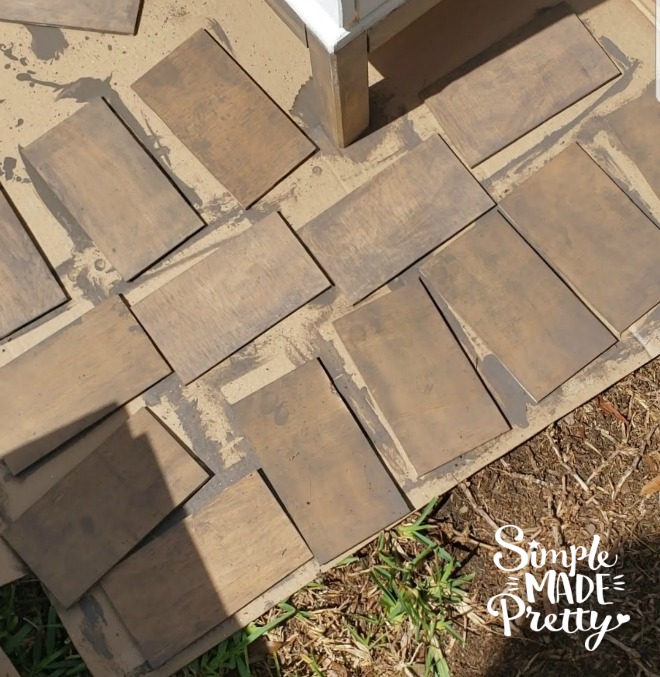
- I stained the legs and the rectangle (faux drawer) pieces using Briar Smoke stain and a sponge brush. Make sure you wipe the pieces clean with a rag to remove the extra stain (this also helps create a natural wood look). Wear gloves when staining- that stuff sinks into your skin and is hard to remove!
- I let the dresser dry in the sun for about 15 minutes before applying the second coat of chalk paint. P.S. I painted the entire front of the drawers since I was using Chalk Paint… Gorilla Glue has no problem sticking to Chalk Paint 🙂 Oh… I also skipped filling the holes for the knobs with wood filler because I didn’t have any on-hand. Call me lazy but you don’t even notice the holes in my dressers!
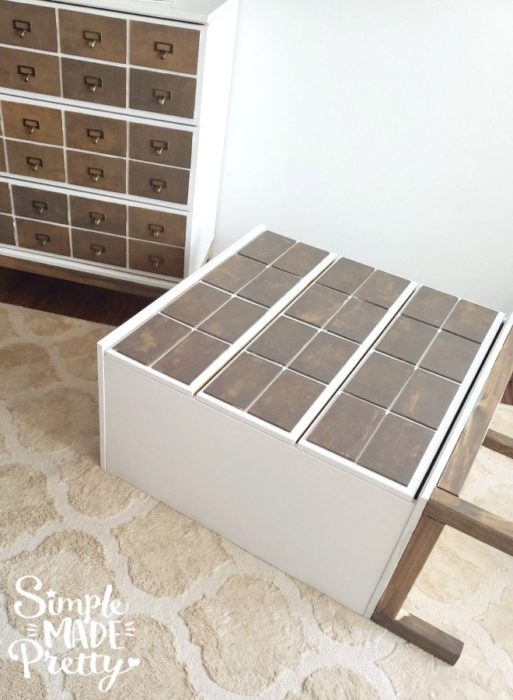
- Once the dresser was completely dry, I moved it into my house (the hubby helped because that dresser is heavy!) and laid it on its backside. I laid it down so gravity could help me glue down each of those rectangle wood pieced with no issues and without having to use a hot glue gun.
- I arranged all 24 rectangles on the front of the drawers, making sure I covered those knob holes since I didn’t fill them with wood filler.
- I used Gorilla Glue to glue them down… You don’t need a lot of glue for this at all.
- Then I arranged all those card catalog hardware pieces and used a small screwdriver to screw them all in by hand. This was probably the most time-consuming part.
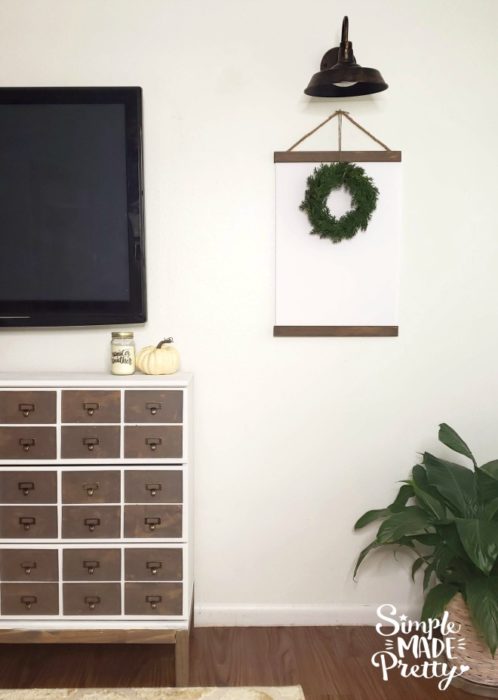
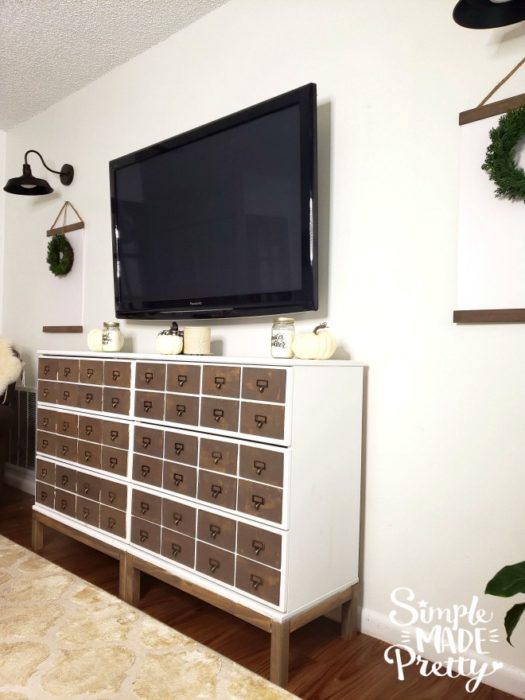
- After that, I sat the 2 dressers under our TV in the den and I use them to store DVD’s and workout equipment.
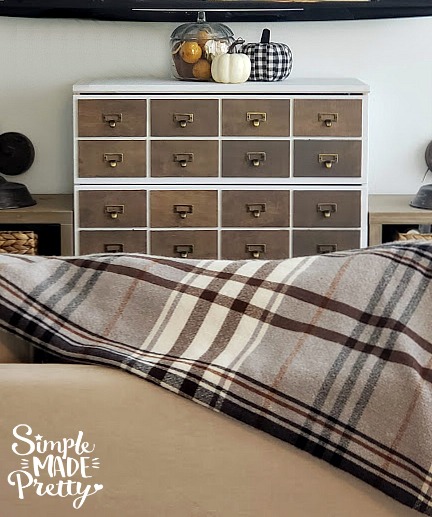
One more thing – if you plan to make this DIY Ikea Hack Card Catalog Cabinet and use as a TV console as I did, you should get the 6-drawer Tarva dresser. The only reason why I purchased 2 small Tava dressers was so I wasn’t stuck with a long dresser if we moved again in the near future. This way I could split them up and place in different rooms if I wanted.
This Ikea Dresser Hack was so fun and unique, I just want to so Thanks to Amanda at Love and Renovations for sharing her tutorial! I get so many compliments and questions about this dresser!
Did you make this Ikea Hack or a similar one? I would love to see yours! Send me a picture on Facebook, Instagram, or email and I’ll share with my followers 🙂
Watch the how-to video on my Instagram Highlights…
–>>Go here to watch me make these dressers 🙂
Pin it for later…
You might also like…


Psssssttt…Right now I’m offering FREE access to our Digital Resource Library to all of our newsletter subscribers. Your private access includes dozens of free printable crafts, home decor and organization guides. Hurry up and grab your freebies here! (Access instructions are sent after subscribing).
Disclaimer: This post may contain affiliate links or a sponsored post. All opinions are always 100% mine and I don’t partner with any product or company that I don’t use and love. Please see our Full Disclosure for more information.

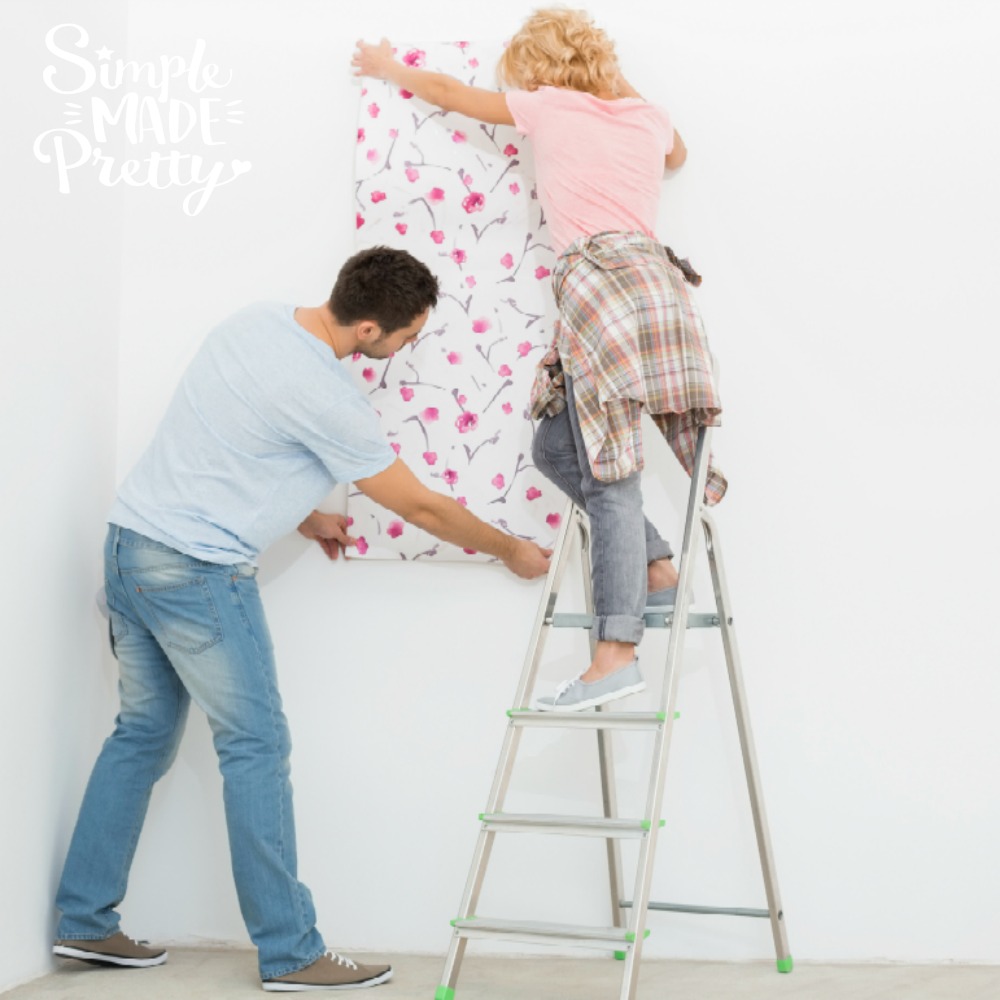 8 Popular Peel And Stick Wallpapers That’ll Instantly Update Your Home Decor