It took 2 months but we finally finished updating the hall bathroom on the 2nd level of our home. This is the bathroom that the kids share and serves as a guest bathroom so we wanted it to be a bit more updated than it was after we made initial changes a year ago. Today I’m sharing How to Remodel Your Bathroom on a Budget!
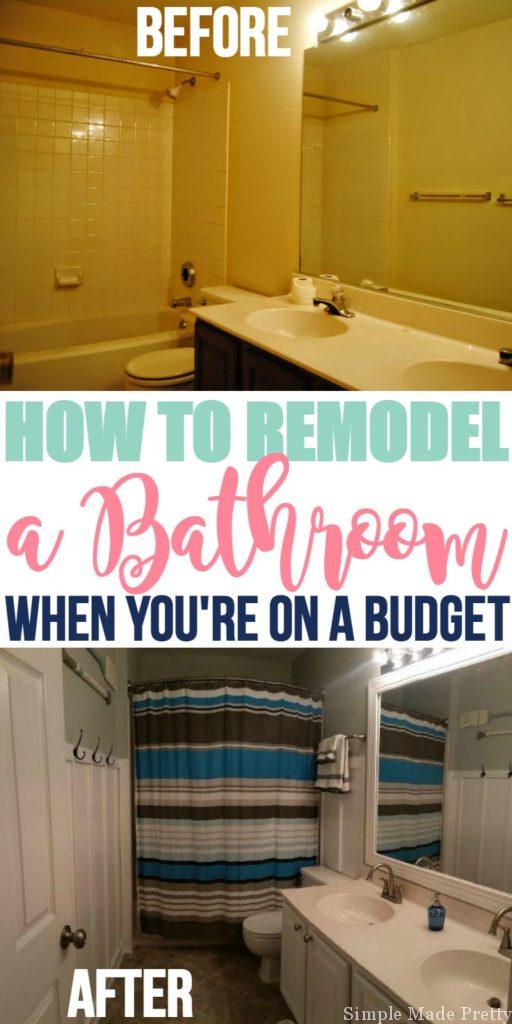
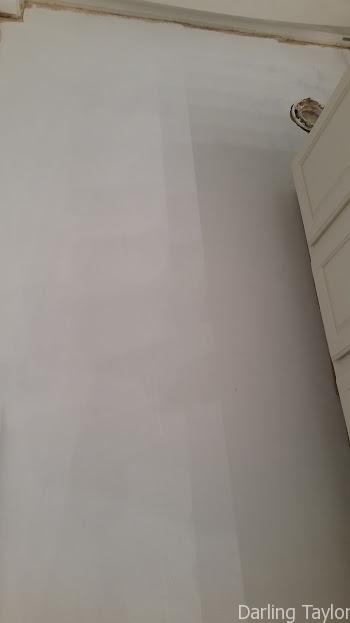
Before I explain why this redo took so long, let’s look at the before picture (we took this picture before we closed on the house – not bad at first glance but take a closer look)…

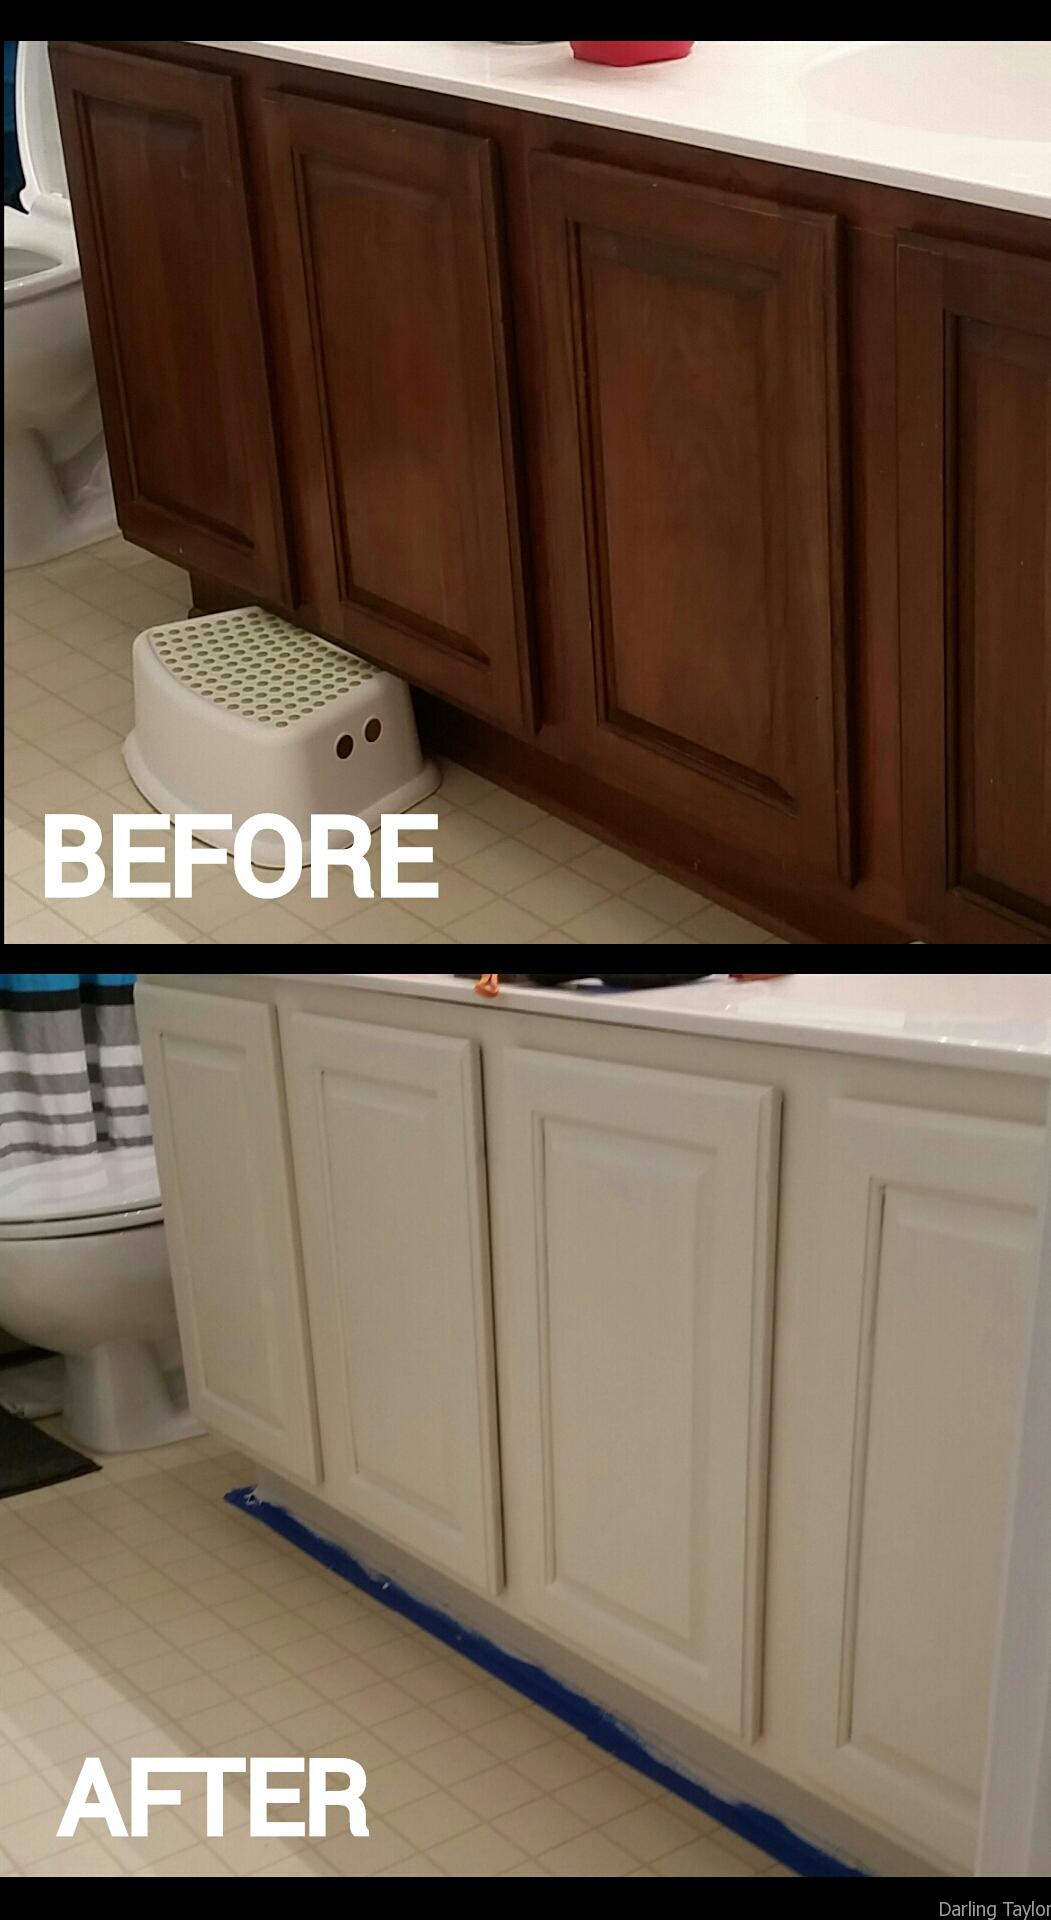
We knew there were some plumbing issues in this bathroom when we bought the house – you can see the shower water faucet knob to turn the water on is missing! Haha! How did the previous occupants bathe? So right away we replaced the shower and sink faucets, along with the towel racks, toilet paper holders, and the bathroom door knob. Then a few months ago, I decided to paint the cabinets.
The color was not really what I wanted and with the “yellow-ish” 1990’s linoleum floors, I was either going to repaint the cabinets or replace the floor. So we decided to replace the floor, hehe. We found some peel and stick tiles (the kind that you can grout and they look like real tile) at Home Depot.
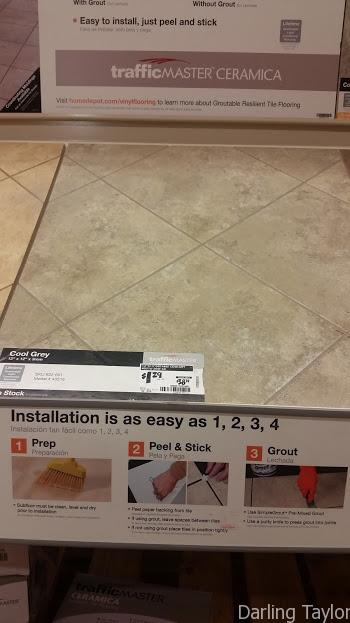
We planned to just stick them right over-top of the linoleum, but then we had a major issue –
Two days after we bought the tiles, I saw a water stain on our dining room ceiling, indicating that the upstairs bathroom had a leak. Yep. The toilet had been leaking. What a coincidence since we were about to update the floor anyway, except, now the job was a bit more complicated. So the hubby ripped out the linoleum and saw that the subfloor under the toilet needed to be replaced.
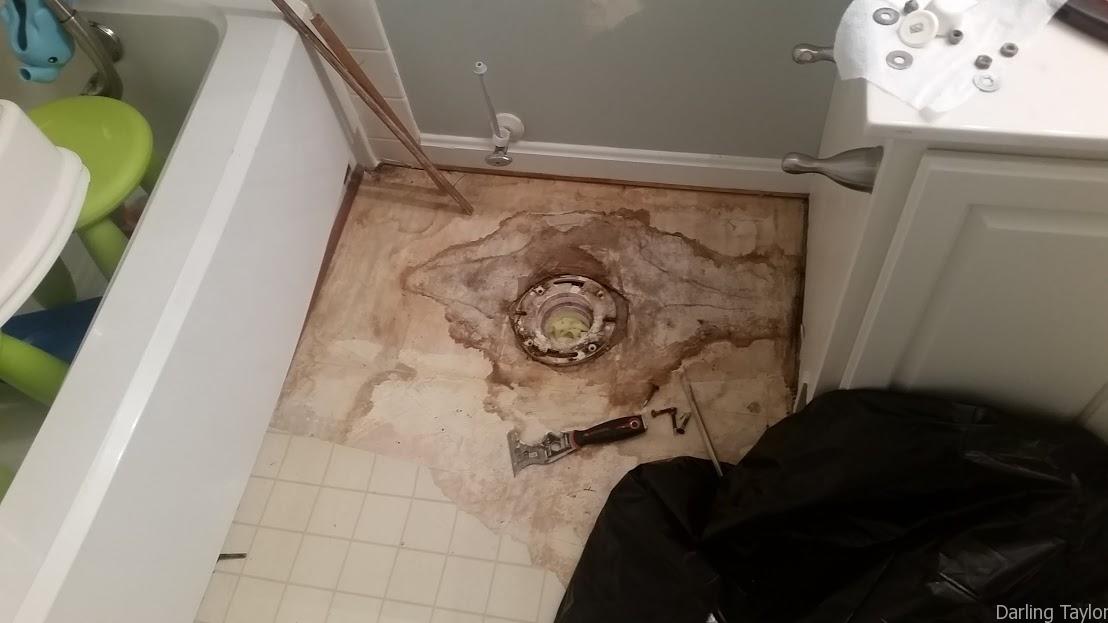
Keep in mind that we both work full-time jobs and have side gigs plus 2 young kids and somewhat of a social life… so this bathroom was out of order for a few weeks until we could install the new floor. Once the sub-floor was repaired and painted, we could start to put down the peel and stick tiles.
The tiles were pretty easy to install (according to the hubs, I had no part in replacing the floor except picking out the tile and grout color – and dictating that the tiles should be angled – which made his job slightly more complicated) See how we put a baby gate in the doorway to keep the kids out while everything dried, the hubby’s idea 🙂

Once the floors were completed, we both still felt like something was missing. The cabinet color was still off so we both agreed that repainting the cabinets (a brighter white), adding board and batten and framing the mirror would really make the room feel finished. We found some cheap and easy board and batten plans here.

We added the same hooks that we used in our mudroom redo to the board and batten since we had some leftover. The wall color is Sherwin Williams Sea Salt and those oars were originally in our bedroom. I picked up some plain oars/paddles from here and painted with Annie Sloan chalk paint in colors that matched the rest of the house since I wasn’t sure where I was going to put them. I think they look perfect in this updated bathroom and give the space a beach theme.

The hubby did a great job with the shoe molding and framing the mirror… no tutorial needed 🙂
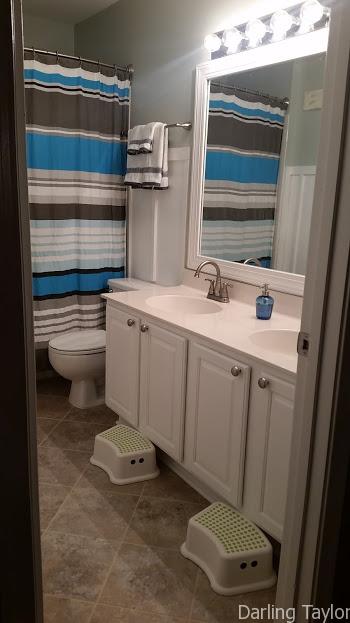
We kept the lights the same since that was another project to patch and repaint and the builder-grade lights actually don’t look bad in this bathroom with the added frame around the mirror. We used a paint sprayer to paint the trim and cabinet doors. The quality when painting cabinet doors is awesome with this paint sprayer!

Lets take one more look at that before…
And After…
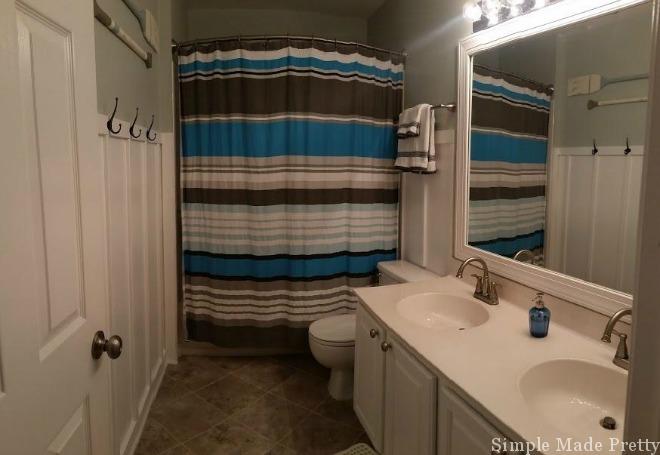
I hope you enjoyed touring our bathroom remodel. I would love to hear if you are planning a home remodeling project and plan to use some ideas from this post. Feel free to Pin and share!
- Floors – Home Depot
- Wall paint color – Sherwin Williams Sea Salt
- Trim and Cabinet Color – Glidden Bright White
- Shower curtain – old, Home Goods
- Towels – Home Goods
- Stools – Ikea
- Soap Dispenser – Ikea
- Oars – Walmart, Painted with Annie Sloan Chalk Paint
- Cabinet Knobs – Home Depot
- Sink Faucets – Home Depot
You might also like…


Disclaimer: This post may contain affiliate links or a sponsored post. All opinions are always 100% mine and I don’t partner with any product or company that I don’t use and love. Please see our Full Disclosure for more information.

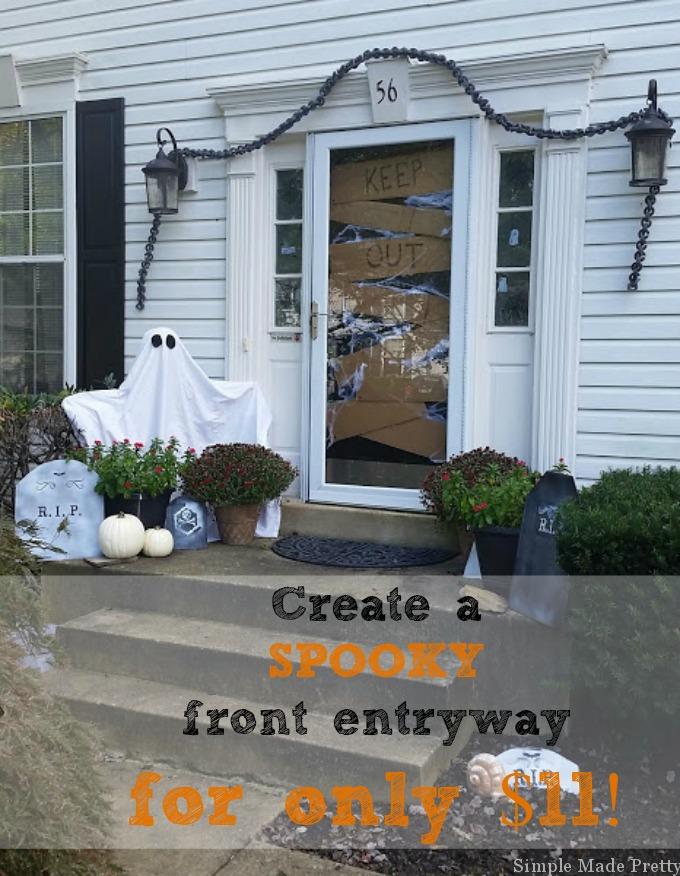 Easy Halloween Front Door Decor on a Budget